


Homemade Mochi Ice Cream: A Delectable Fusion of Tradition and Indulgence
Who doesn’t love ice cream? You are in for a heavenly treat with SportPort Active’s new recipe, Mochi Ice Cream! It’s a fabulous fusion of Japanese rice cakes and creamy ice cream with our sensational Homemade Mochi Ice Cream recipe. Brace yourself for a delightful experience as you sink your teeth into these soft, slightly chewy, and irresistibly sweet rice dough delicacies. Effortlessly, you can create these little bite size wonders in your own kitchen!
The Origins of Mochi: A Bite of Japanese Tradition
What is Mochi? Mochi, pronounced "moh chee," has a rich history that traces back centuries in Japanese culture. This beloved treat is a sweet rice cake made from glutinous rice, also known as sticky rice or sweet rice. During the Japanese New Year celebrations, a fascinating tradition called Mochitsuki, as seen in this video is center stage. This laborious process involves steaming the glutinous rice before pounding it into small, delectable mochi cakes. The rhythmic sound of the wooden mallets striking the steamed rice creates an unforgettable sensory experience, symbolizing good fortune and unity.
The Rise of Mochi Ice Cream: A Modern Twist on Tradition
Mochi ice cream originated in Japan and quickly gained popularity in the United States, captivating the taste buds of dessert enthusiasts across the nation. In recent years, the delightful world of mochi expanded its horizons with a modern innovation—Mochi Ice Cream. This ingenious creation combines the beloved soft and chewy texture of mochi with a luscious ice cream center. The result? A tantalizing treat that brings together the best of both worlds. We recommend Bubbies Mochi Ice Cream for its natural ingredients and undeniably creative approach to new flavors.
Crafting Your Own Mochi Ice Cream Masterpiece
While mochi ice cream has become increasingly available in stores and supermarkets, there's nothing quite like the satisfaction of creating your own homemade version. We, at SportPort Active, have brought you an easy-to-follow recipe that allows you to customize your Mochi Ice Cream, taking your taste buds on a culinary adventure. All you need is your favorite ice cream, sweet rice flour (readily available for delivery), and a handful of pantry staples. In just a few minutes of cooking and preparation, you'll be savoring the blissful combination of soft mochi dough and creamy ice cream in your very own creation.
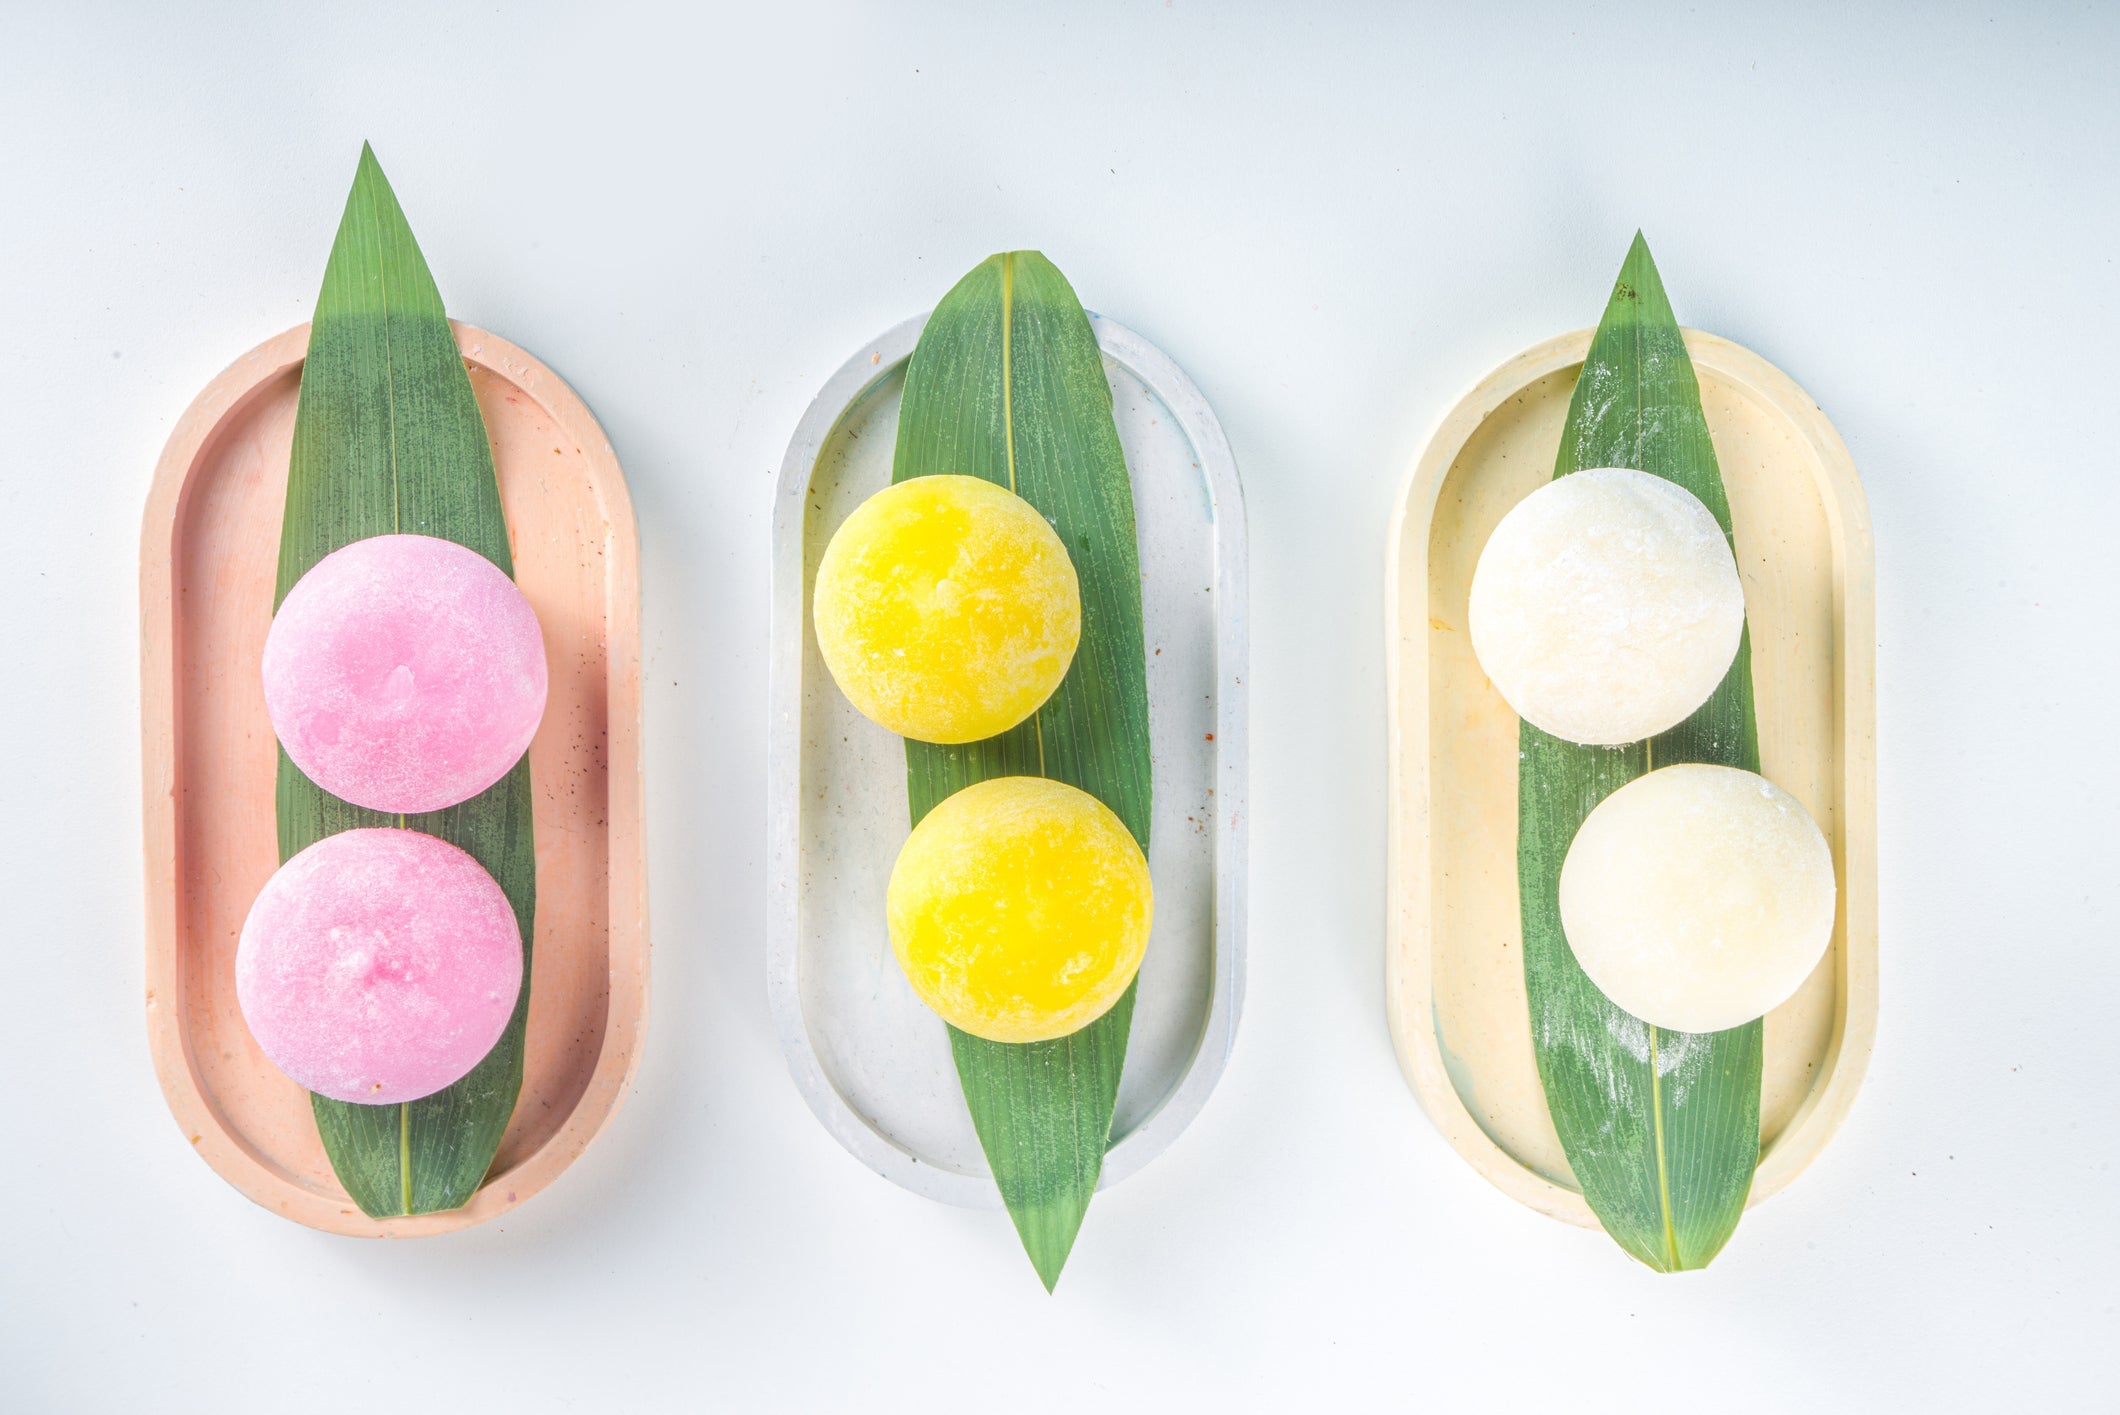
One of the most delightful aspects of making homemade Mochi ice cream is the endless array of flavor combinations and customizations available. Whether you're a fan of classic flavors like matcha, red bean, or black sesame, or you prefer to explore innovative pairings like peanut butter, purple yam, or mango, the skies are the limit. Allow your creativity to run wild as you experiment with different fillings and coatings to create a personalized Mochi Ice Cream masterpiece.
Masterful Flavors and Tradition
Prepare to be swept off your feet as you set out to create your own Homemade Mochi Ice Cream. Dive into the rich history of mochi while indulging in the harmonious marriage of flavors, textures, and pure bliss. This recipe is so easy. Just pick up your favorite ice cream, order sweet rice flour (Amazon will ship it right to your door for $7), and gather the other five ingredients, which are pantry staples. Plus, it only takes 3 minutes to cook and just about 25 minutes to prepare. So, don your apron, grab your whisk, and get ready to have a great time while experiencing a culinary adventure like no other!
Mochi Ice Cream
Homemade Mochi Ice Cream is a sweet and chewy Japanese rice cake filled with your choice of ice cream in a soft, slightly chewy, sweet rice dough. You’ll be amazed how simple it is to make yourself! If you prefer a sweeter taste, try making mochi rice cakes even sweeter with a 2:1 ratio of sugar to flour. For that approach, check out this recipe.
Ingredients
Instructions
Freeze ice cream balls: Line a sheet pan with parchment paper. Working quickly, use a small ice cream scoop to scoop ice cream balls and place them onto the parchment paper. Be sure to pack the ice cream tightly as you scoop, leaving a flat edge on the ice cream so that it will sit flat on your cookie sheet. Freeze for 1 hour.
Make mochi:
Roll dough: Place a piece of parchment paper on the counter and dust with a layer of cornstarch. Use a rubber spatula to scrape the mochi dough from the bowl and onto the parchment paper (keep in mind that it will be very hot, so be careful not to touch it.
Dust the top of the dough ball with cornstarch. Use a rolling pin to roll the mochi dough into a large rectangle. If the dough sticks at all while rolling, continue to dust the top with cornstarch to prevent sticking. Roll the dough to a thickness of 1/4''. Place the parchment paper with the rolled-out dough onto a sheet pan and refrigerate for 30 minutes.
Use scissors to cut large squares of plastic wrap (one for each ice cream ball). Each mochi should be wrapped in plastic wrap before freezing.
Fill the dough: Remove the dough from the fridge and use a round cookie or biscuit cutter (about 3-inch round) to cut circles in the dough. Your circles need to be big enough to pinch the dough around the ice cream. Pick up one circle of dough and gently brush off the cornstarch from the top (I like to use a dry pastry brush to do this). Working with one scoop of ice cream at a time, keeping the rest in the freezer so they don't melt, place one ice cream scoop in the center of the mochi and gently press the dough around the ice cream. Pinch the edges of the mochi to seal it. Place mochi on a piece of plastic wrap bringing the corners of the square to the center and twisting tightly at the top to seal it.
Freeze: Freeze: Place each wrapped mochi back in the freezer with the twisted plastic wrap side down. Continue with remaining dough and ice cream. Freeze mochi ice cream for at least 1 hour before eating. Once frozen, store it, still wrapped in the plastic wrap, in a freezer safe bag or container in the freezer for up to 3 months. Allow the mochi ice cream to slightly thaw before eating.
Variations:
We hope you enjoy this small wonderment called Mochi Ice Cream. With its endless array of color options, and so many flavors to pick from, what’s not to love about Mochi Ice Cream! If you’re a foodie like us and love healthy new recipes, check out all of our recipes at, SportPort Active, or more fabulously easy nutritional recipes.
Read more

Indulge in a balanced and refreshing vacation diet with our guide to alkaline and acidic foods. Join us at SportPortactive.com as we explore the benefits of a balanced pH diet, provide expert insig...

Welcome to our blog where fitness meets passion, and companionship fuels motivation! If you're looking to transform your workouts and take your fitness journey to exhilarating heights, we have the...